
Set up a team workspace
Create a team, invite people, set roles, and share knowledge, agents, and prompts — to everyone or a group.
A team is a shared workspace. One person sets up the knowledge, agents, and prompts once, and everyone works from the same source. This guide takes you from an empty team to a fully shared workspace.
What you'll need
- Advanced mode; the Teams icon is in the rail only there.
- Permission to create teams. If the icon is missing in Advanced mode, ask your administrator.
Steps
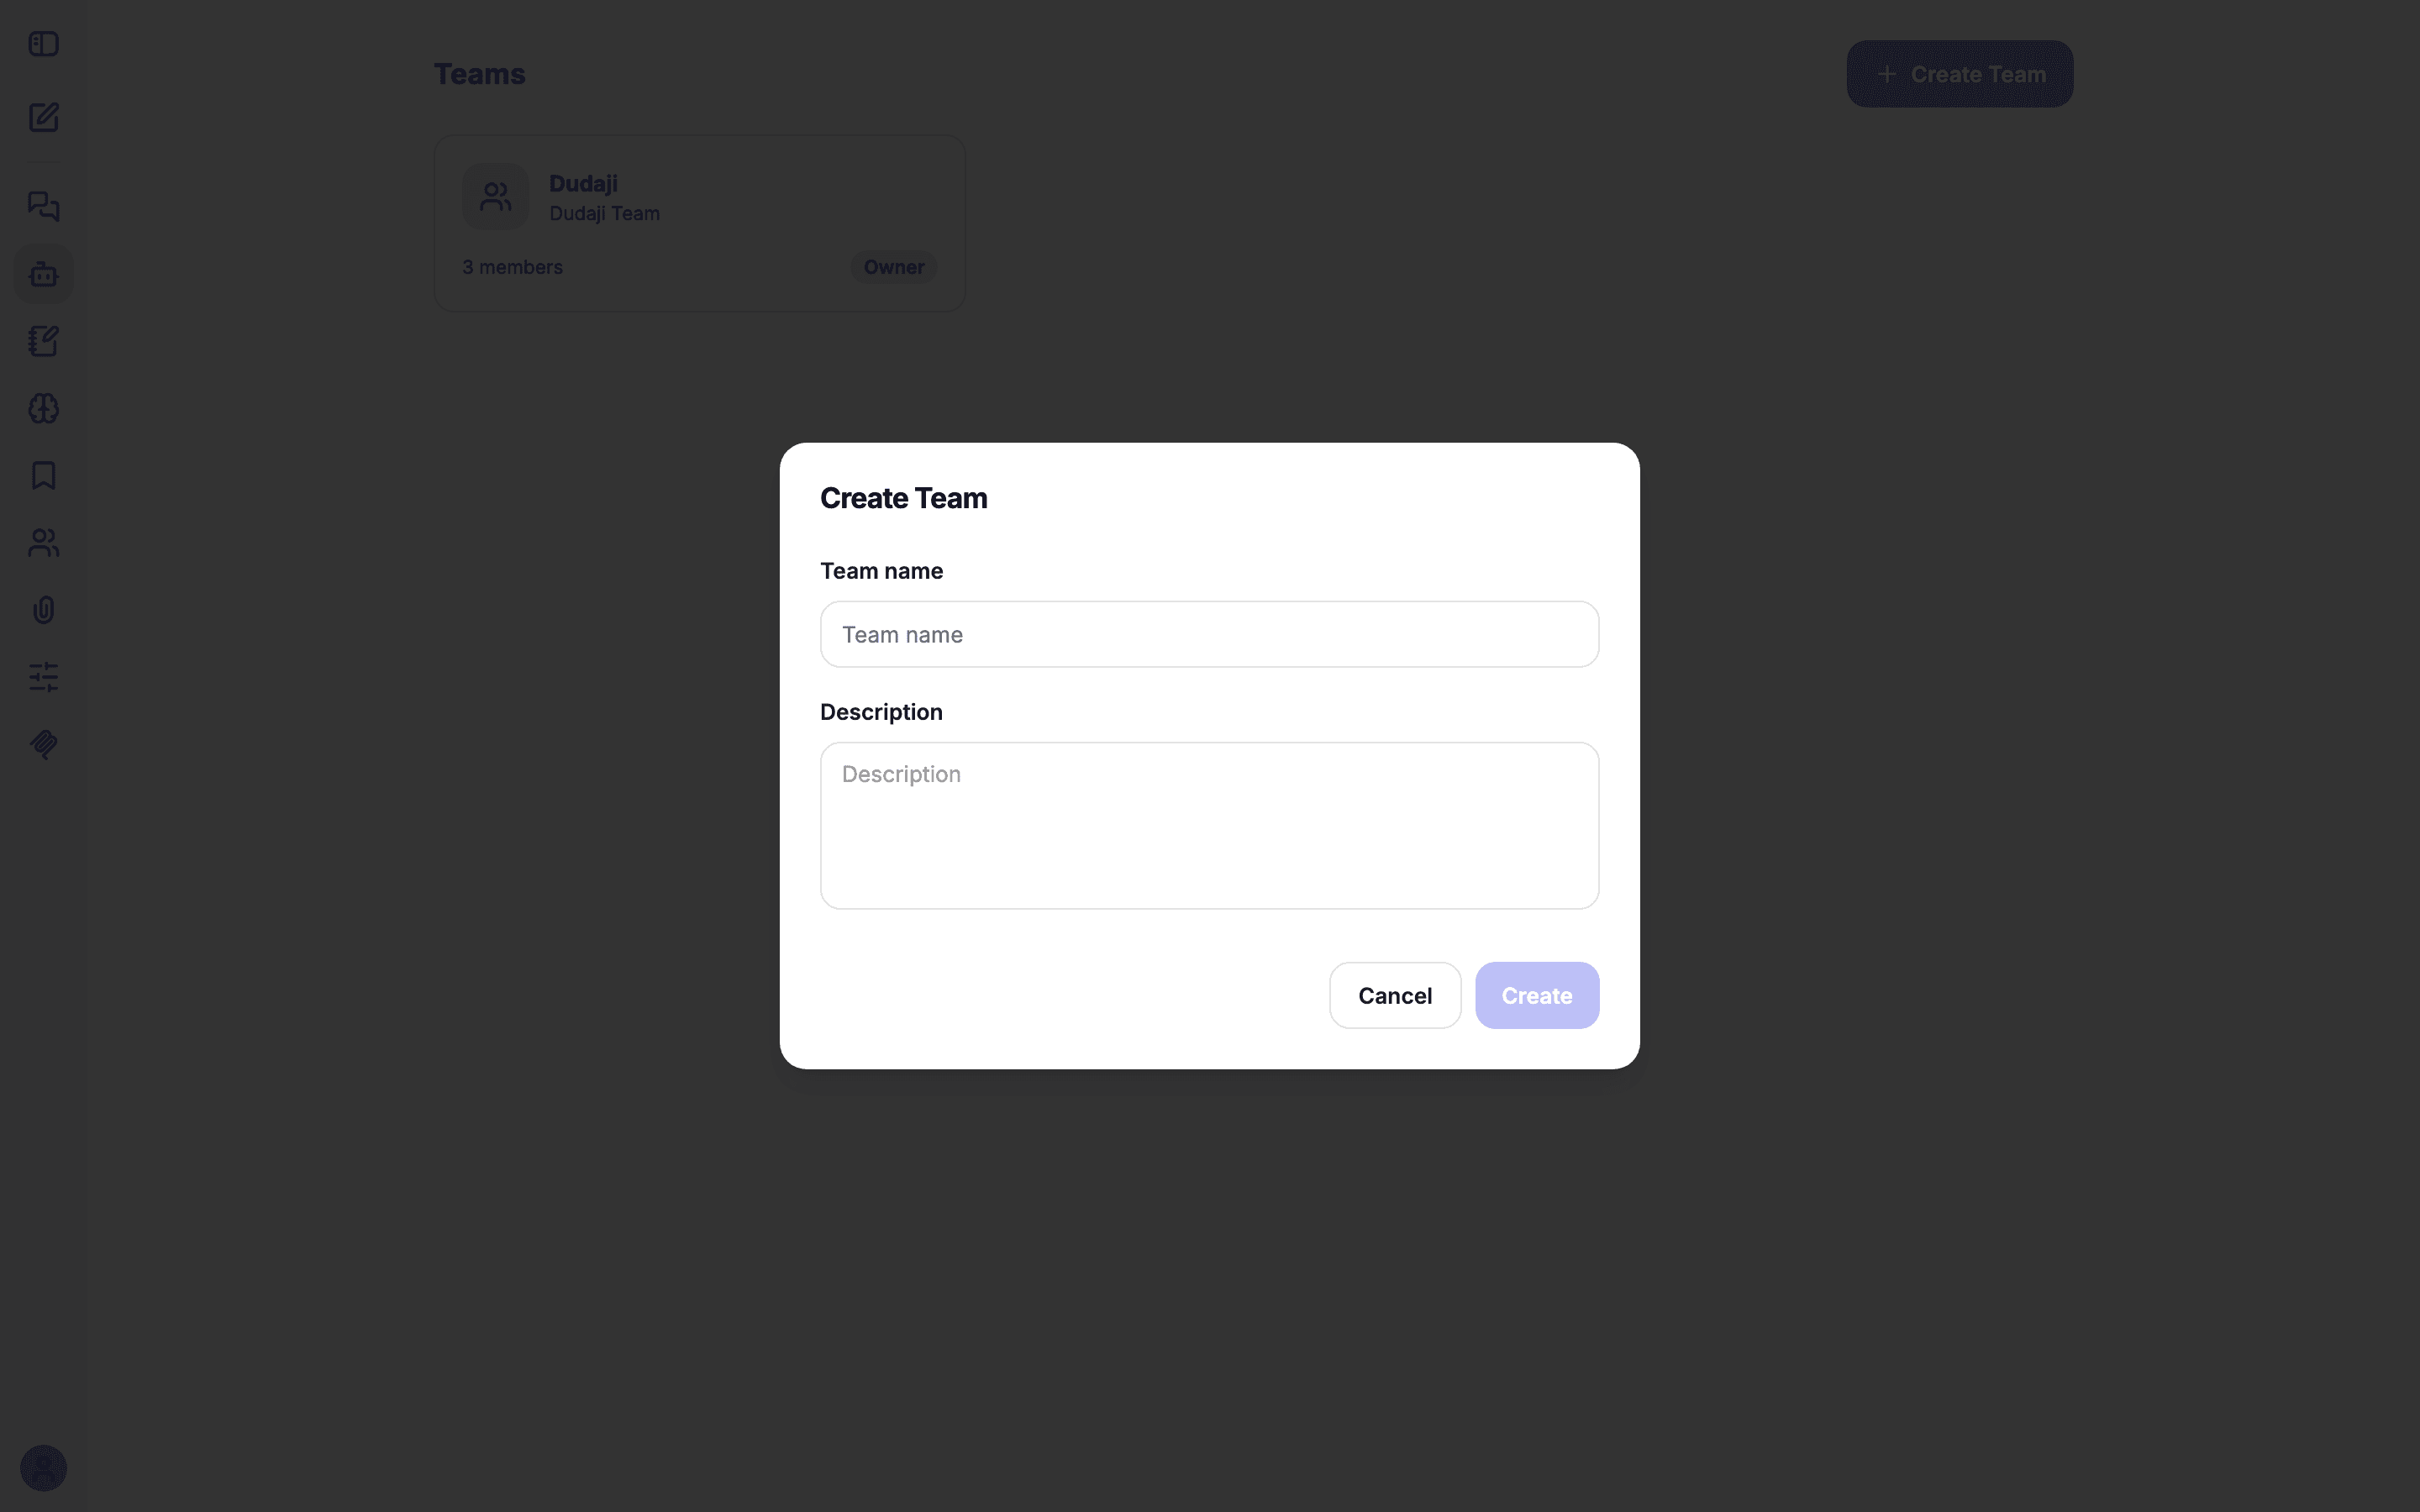
Open Teams (the people icon in the left icon rail) and click Create Team. Give it a name and an optional description — you become the Owner.
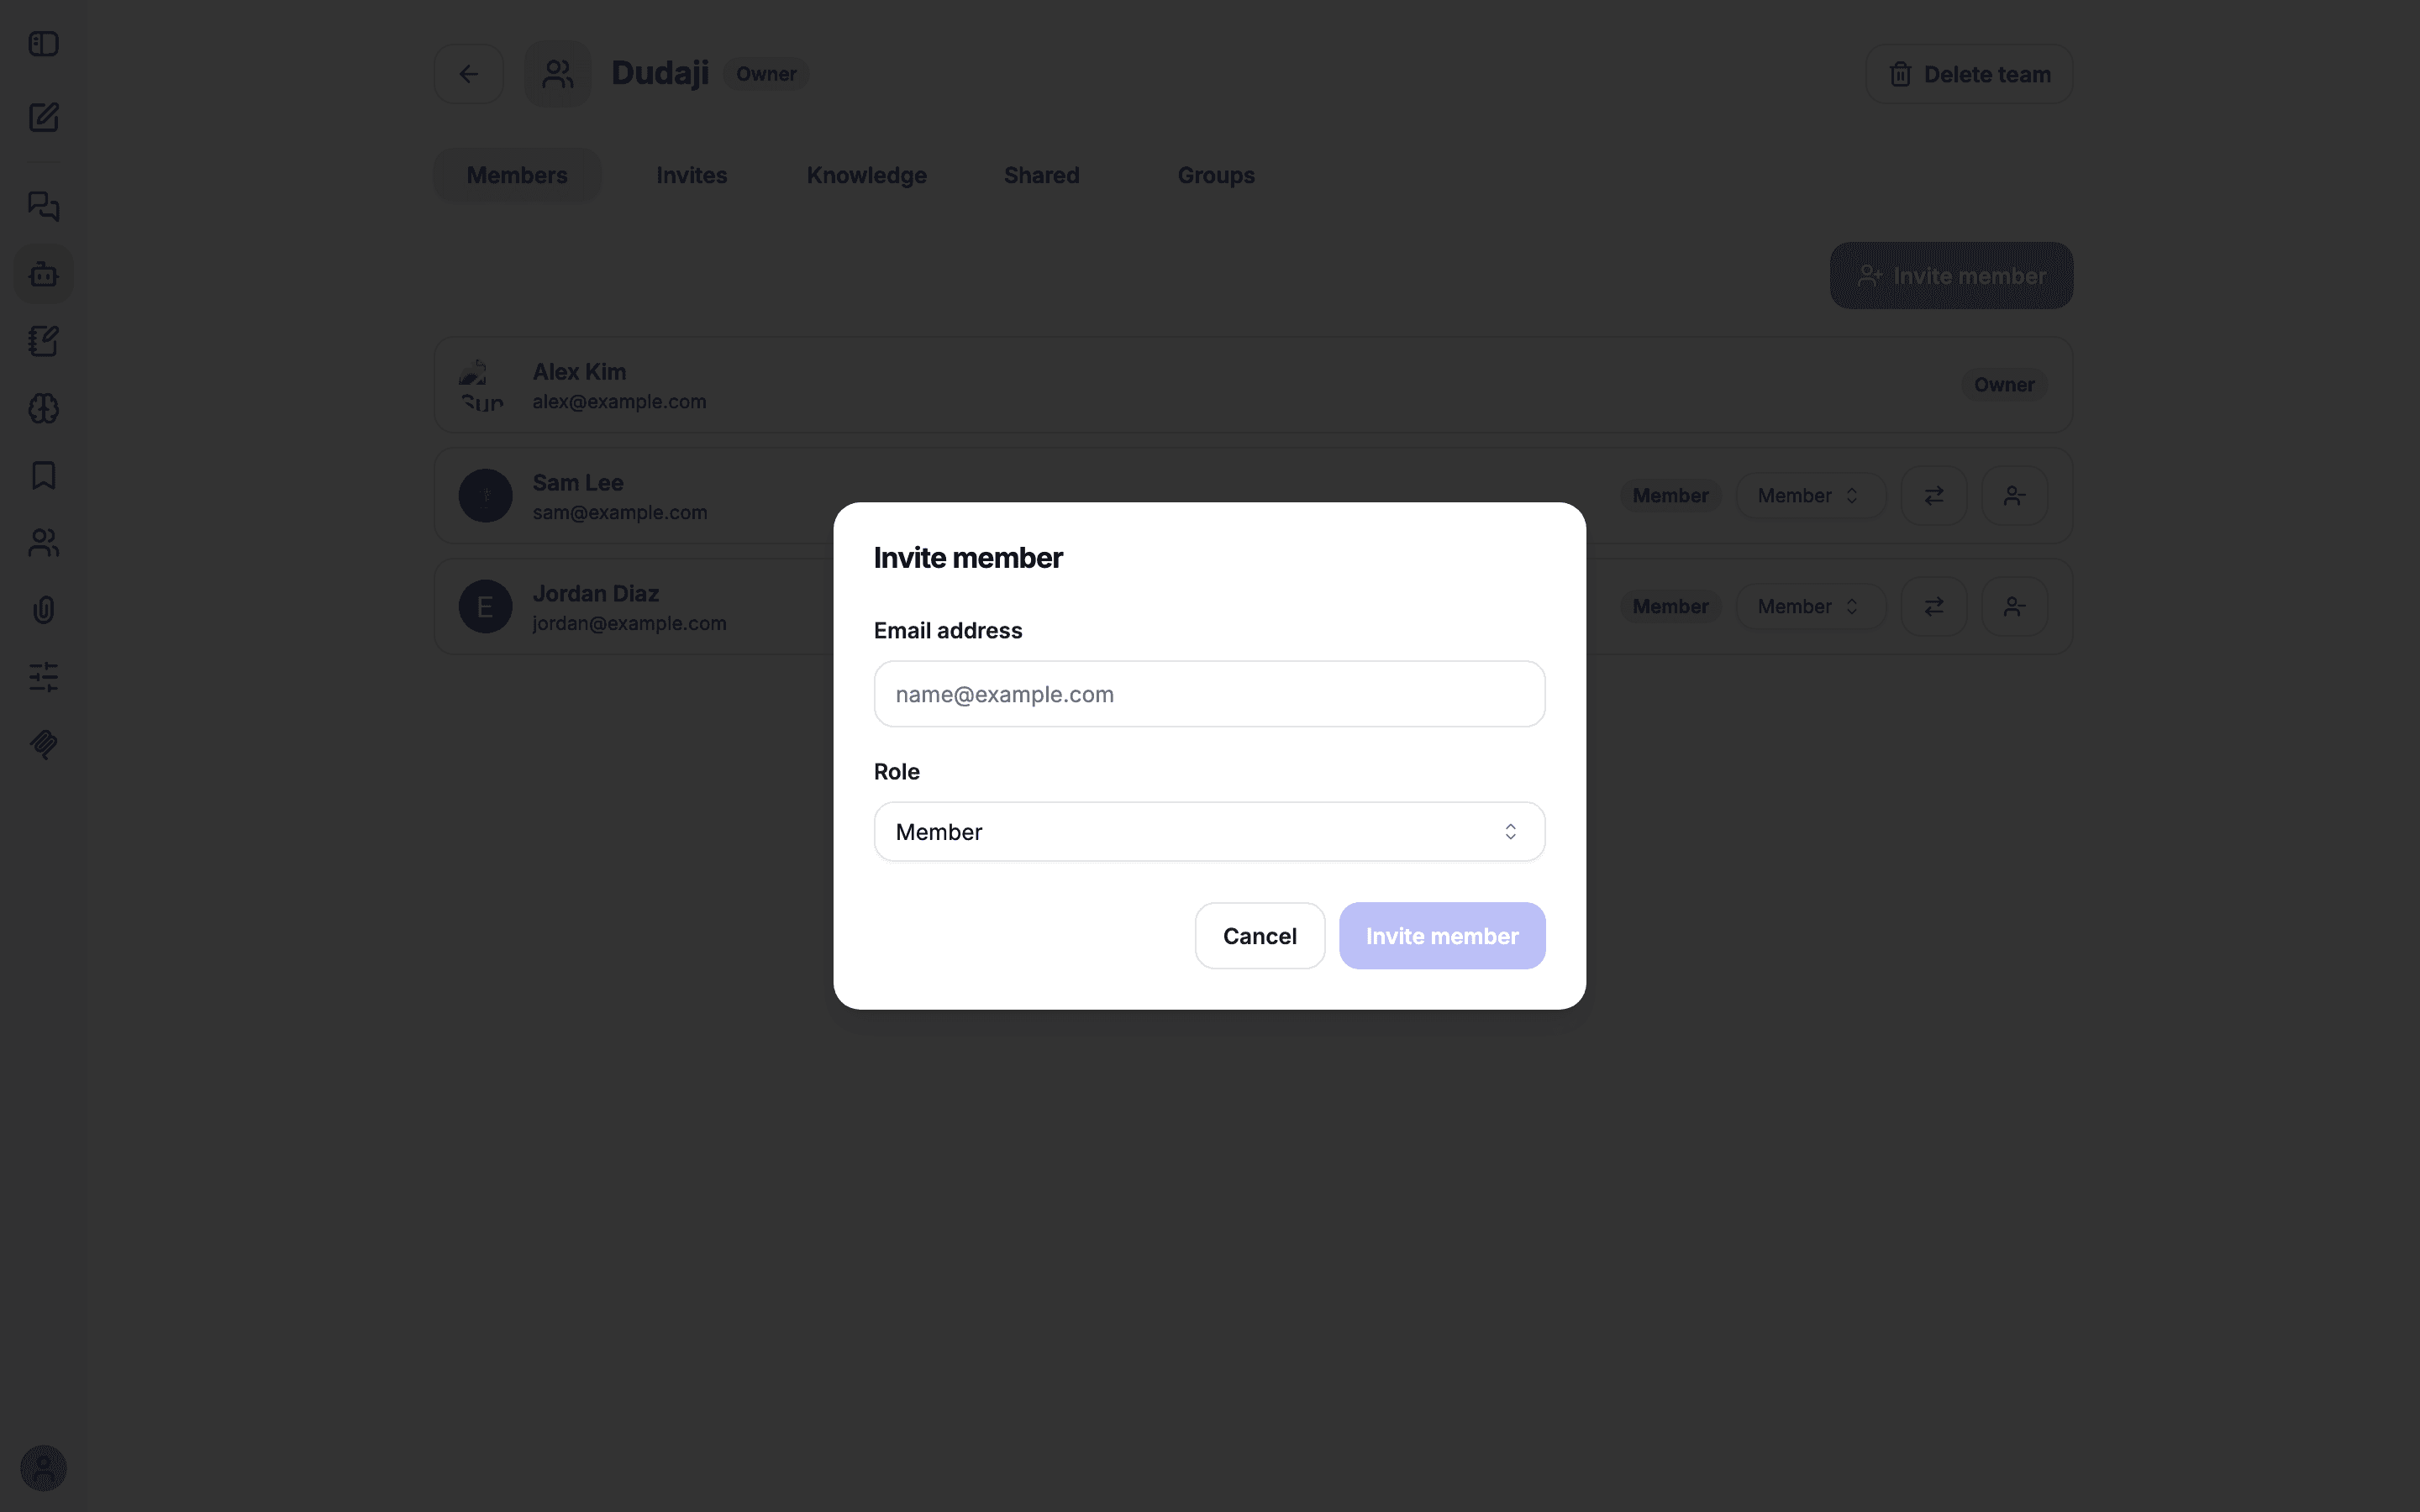
Go to the Members tab and click Invite member. Enter an email address
and pick a role (Member or Admin). They accept the invitation inside
the app; chat.nufi.me sends no email, so tell them it is waiting.
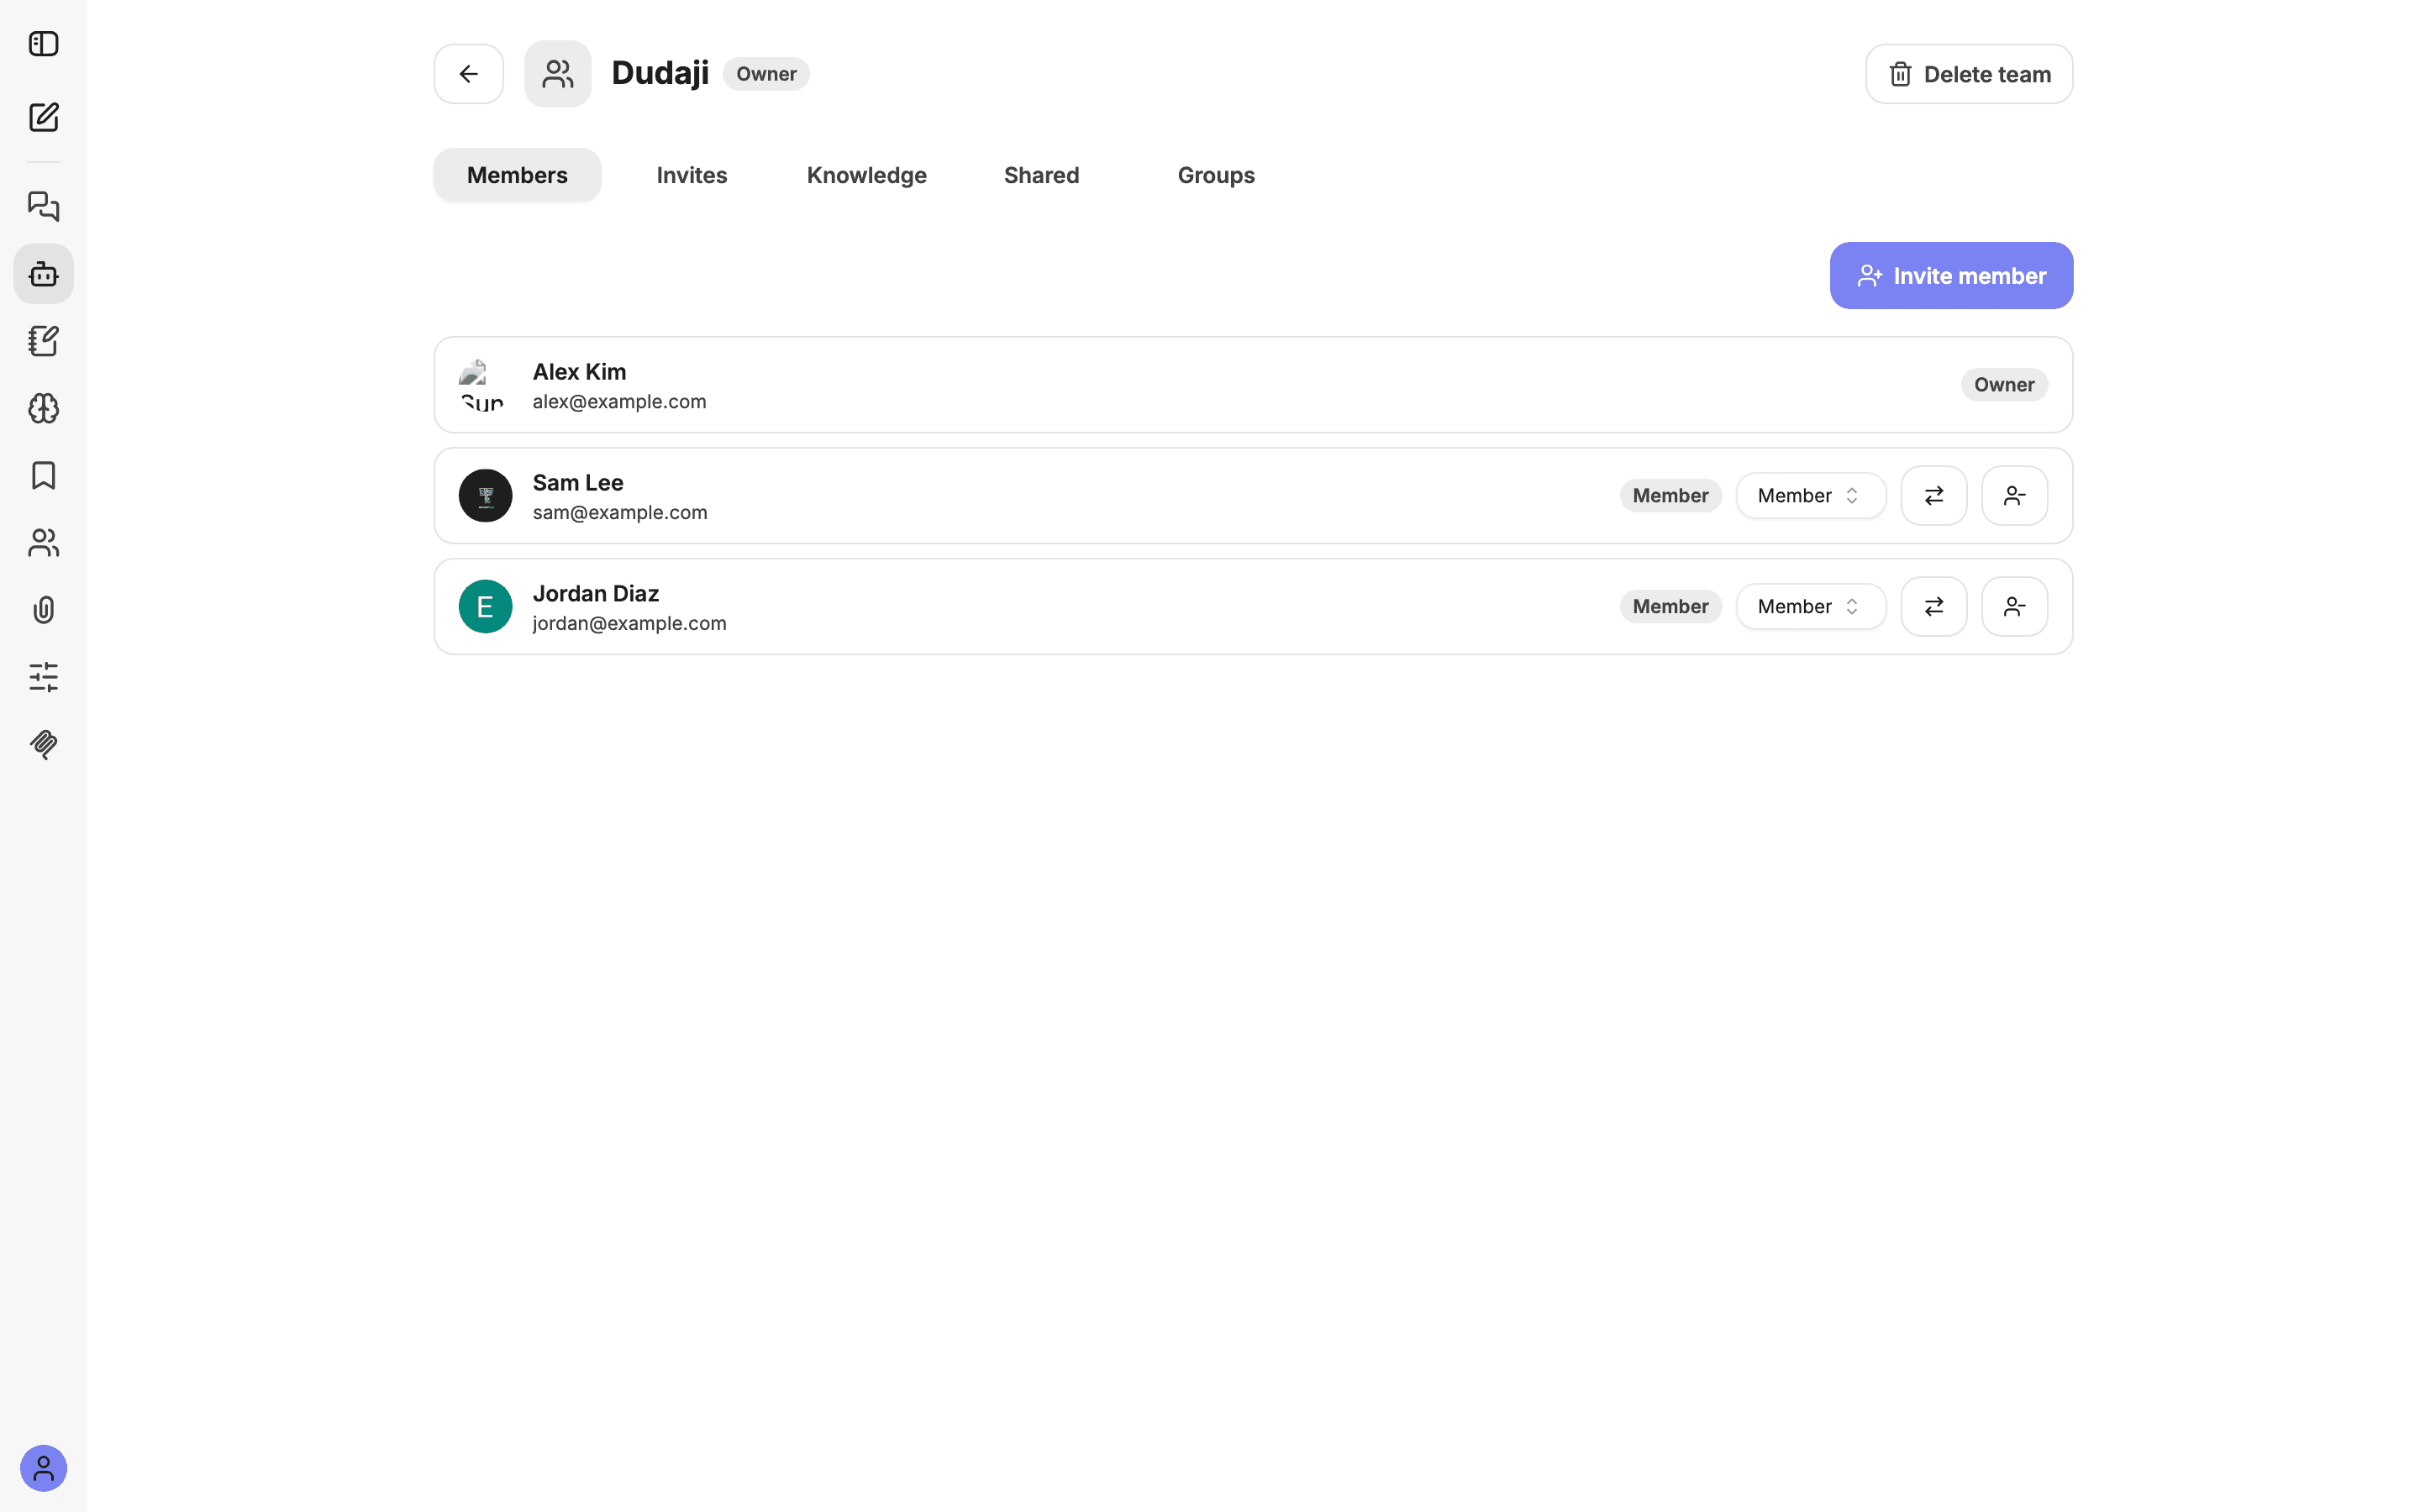
Manage people from the Members tab: change roles, transfer ownership, or remove someone. Give each person the least role they need.
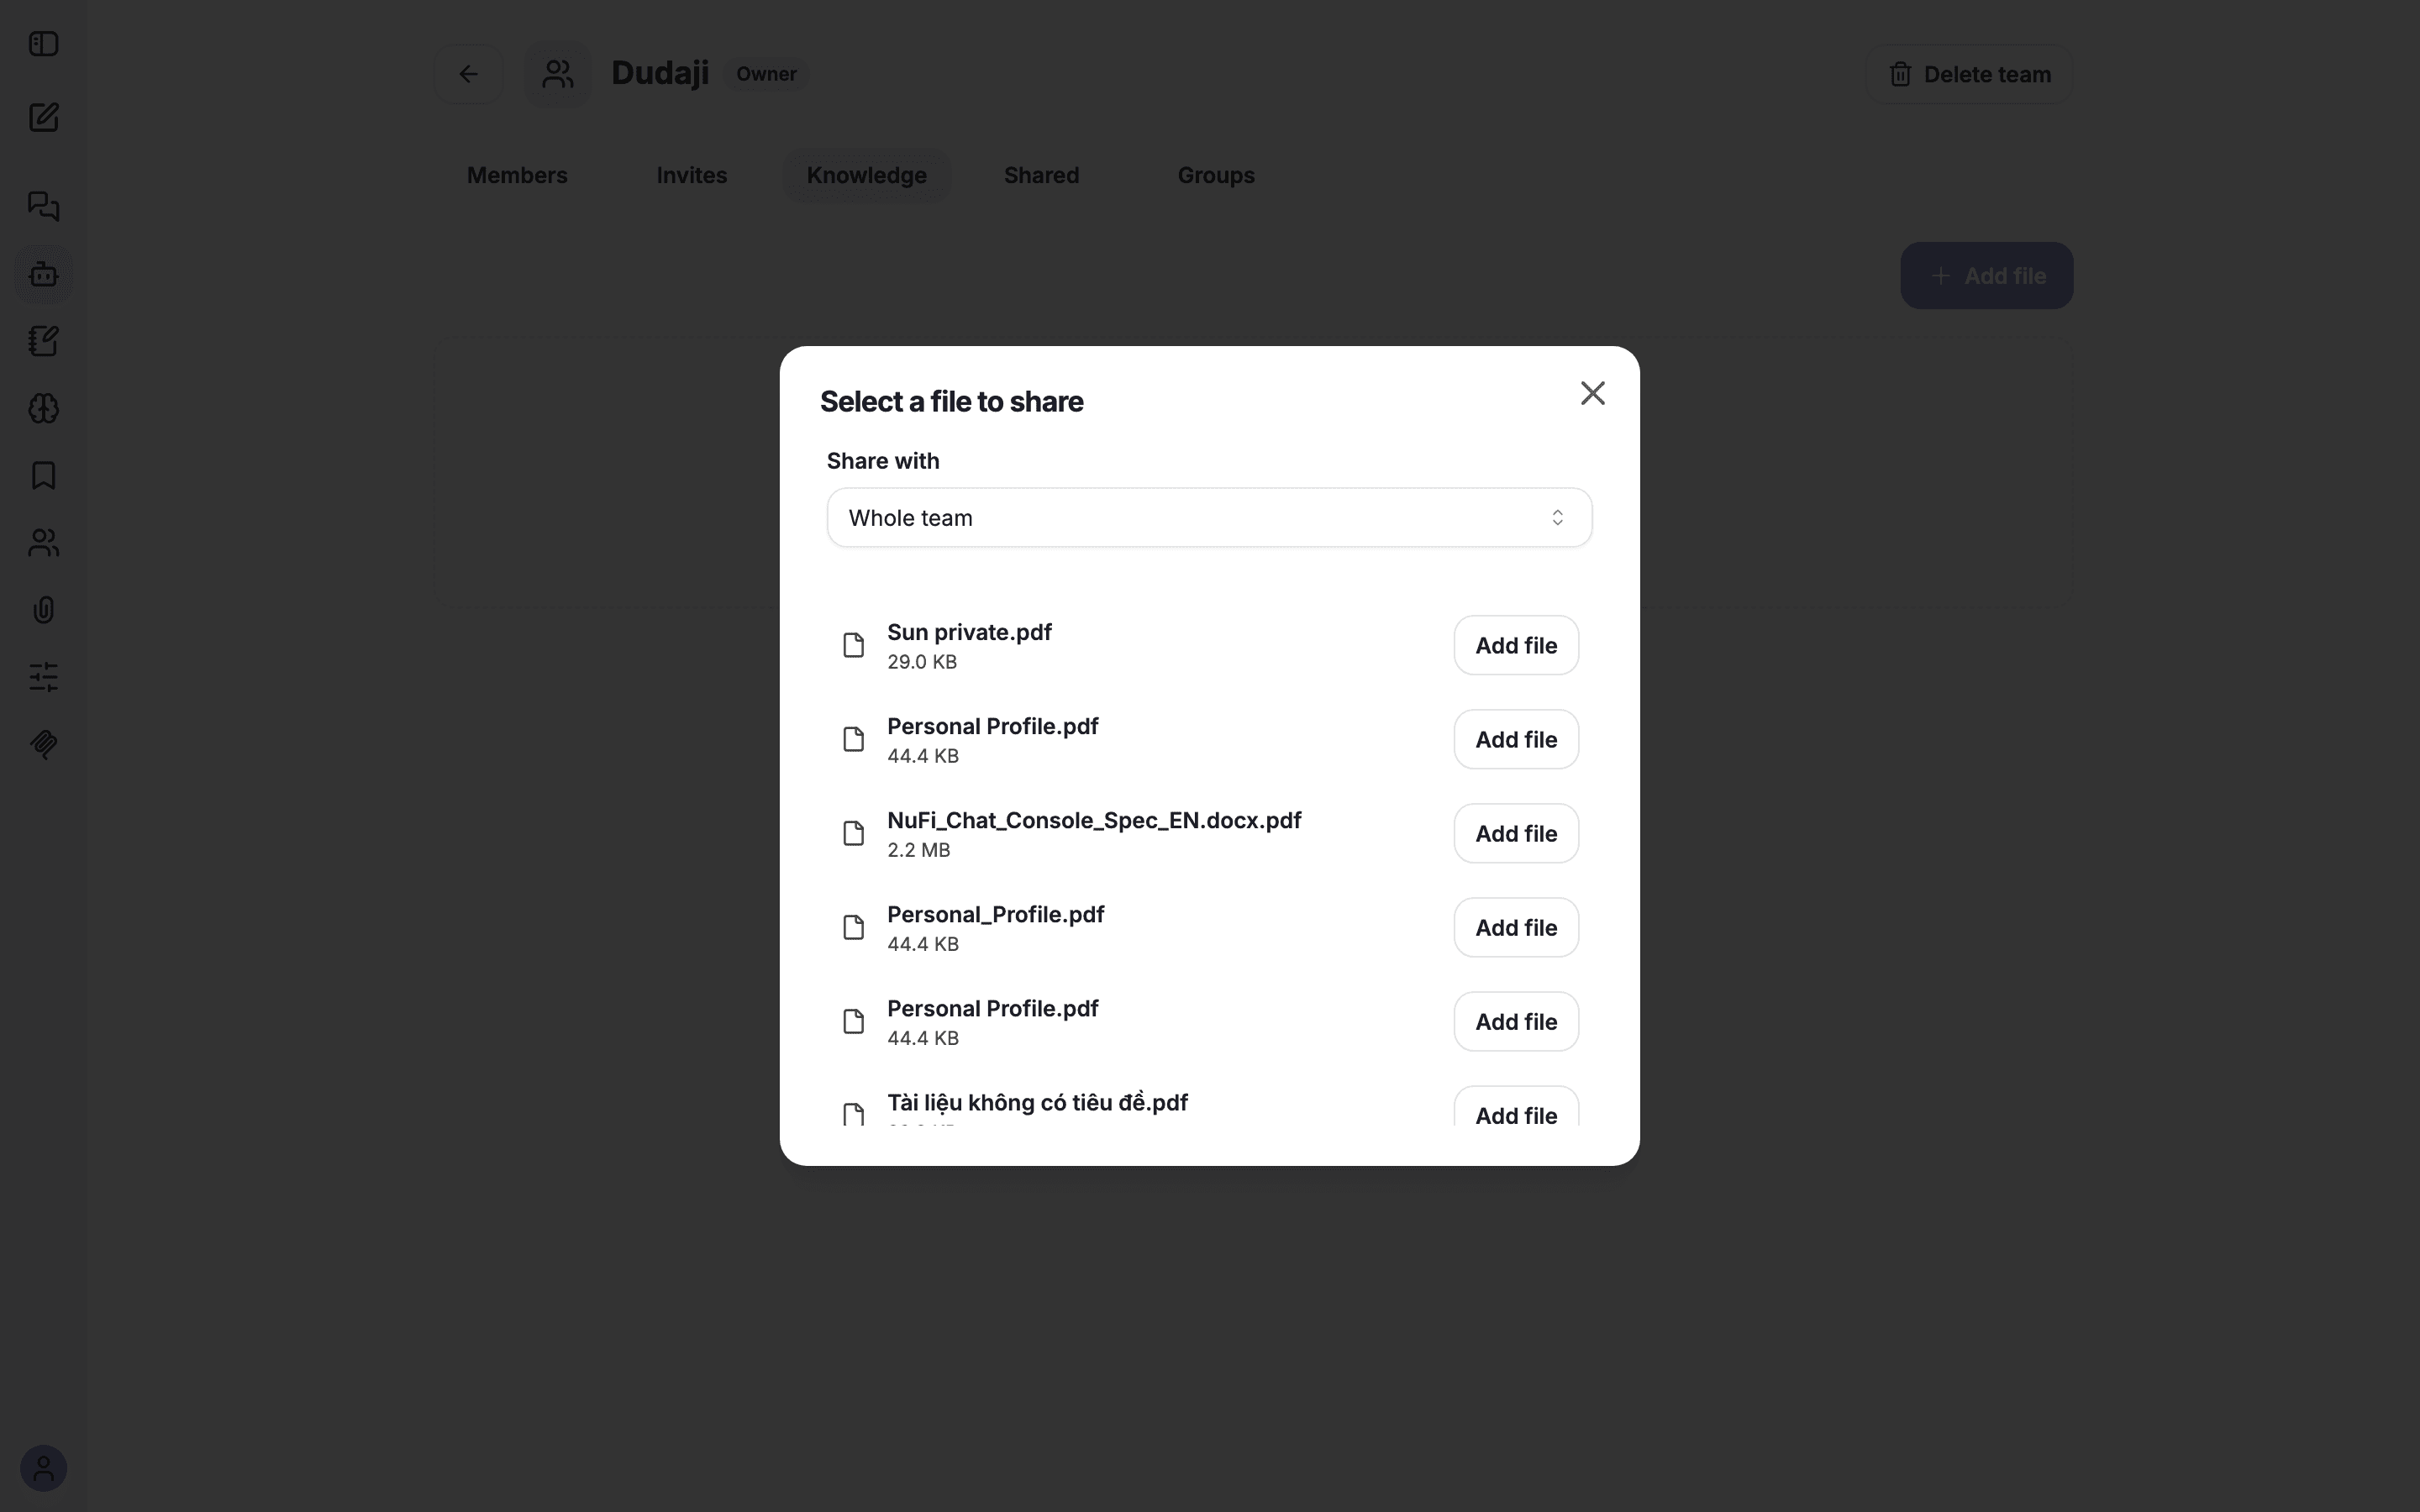
Share knowledge: open the Knowledge tab, click Add file, and choose who it's for — the whole team or a group. Now everyone can ask questions answered from those documents.
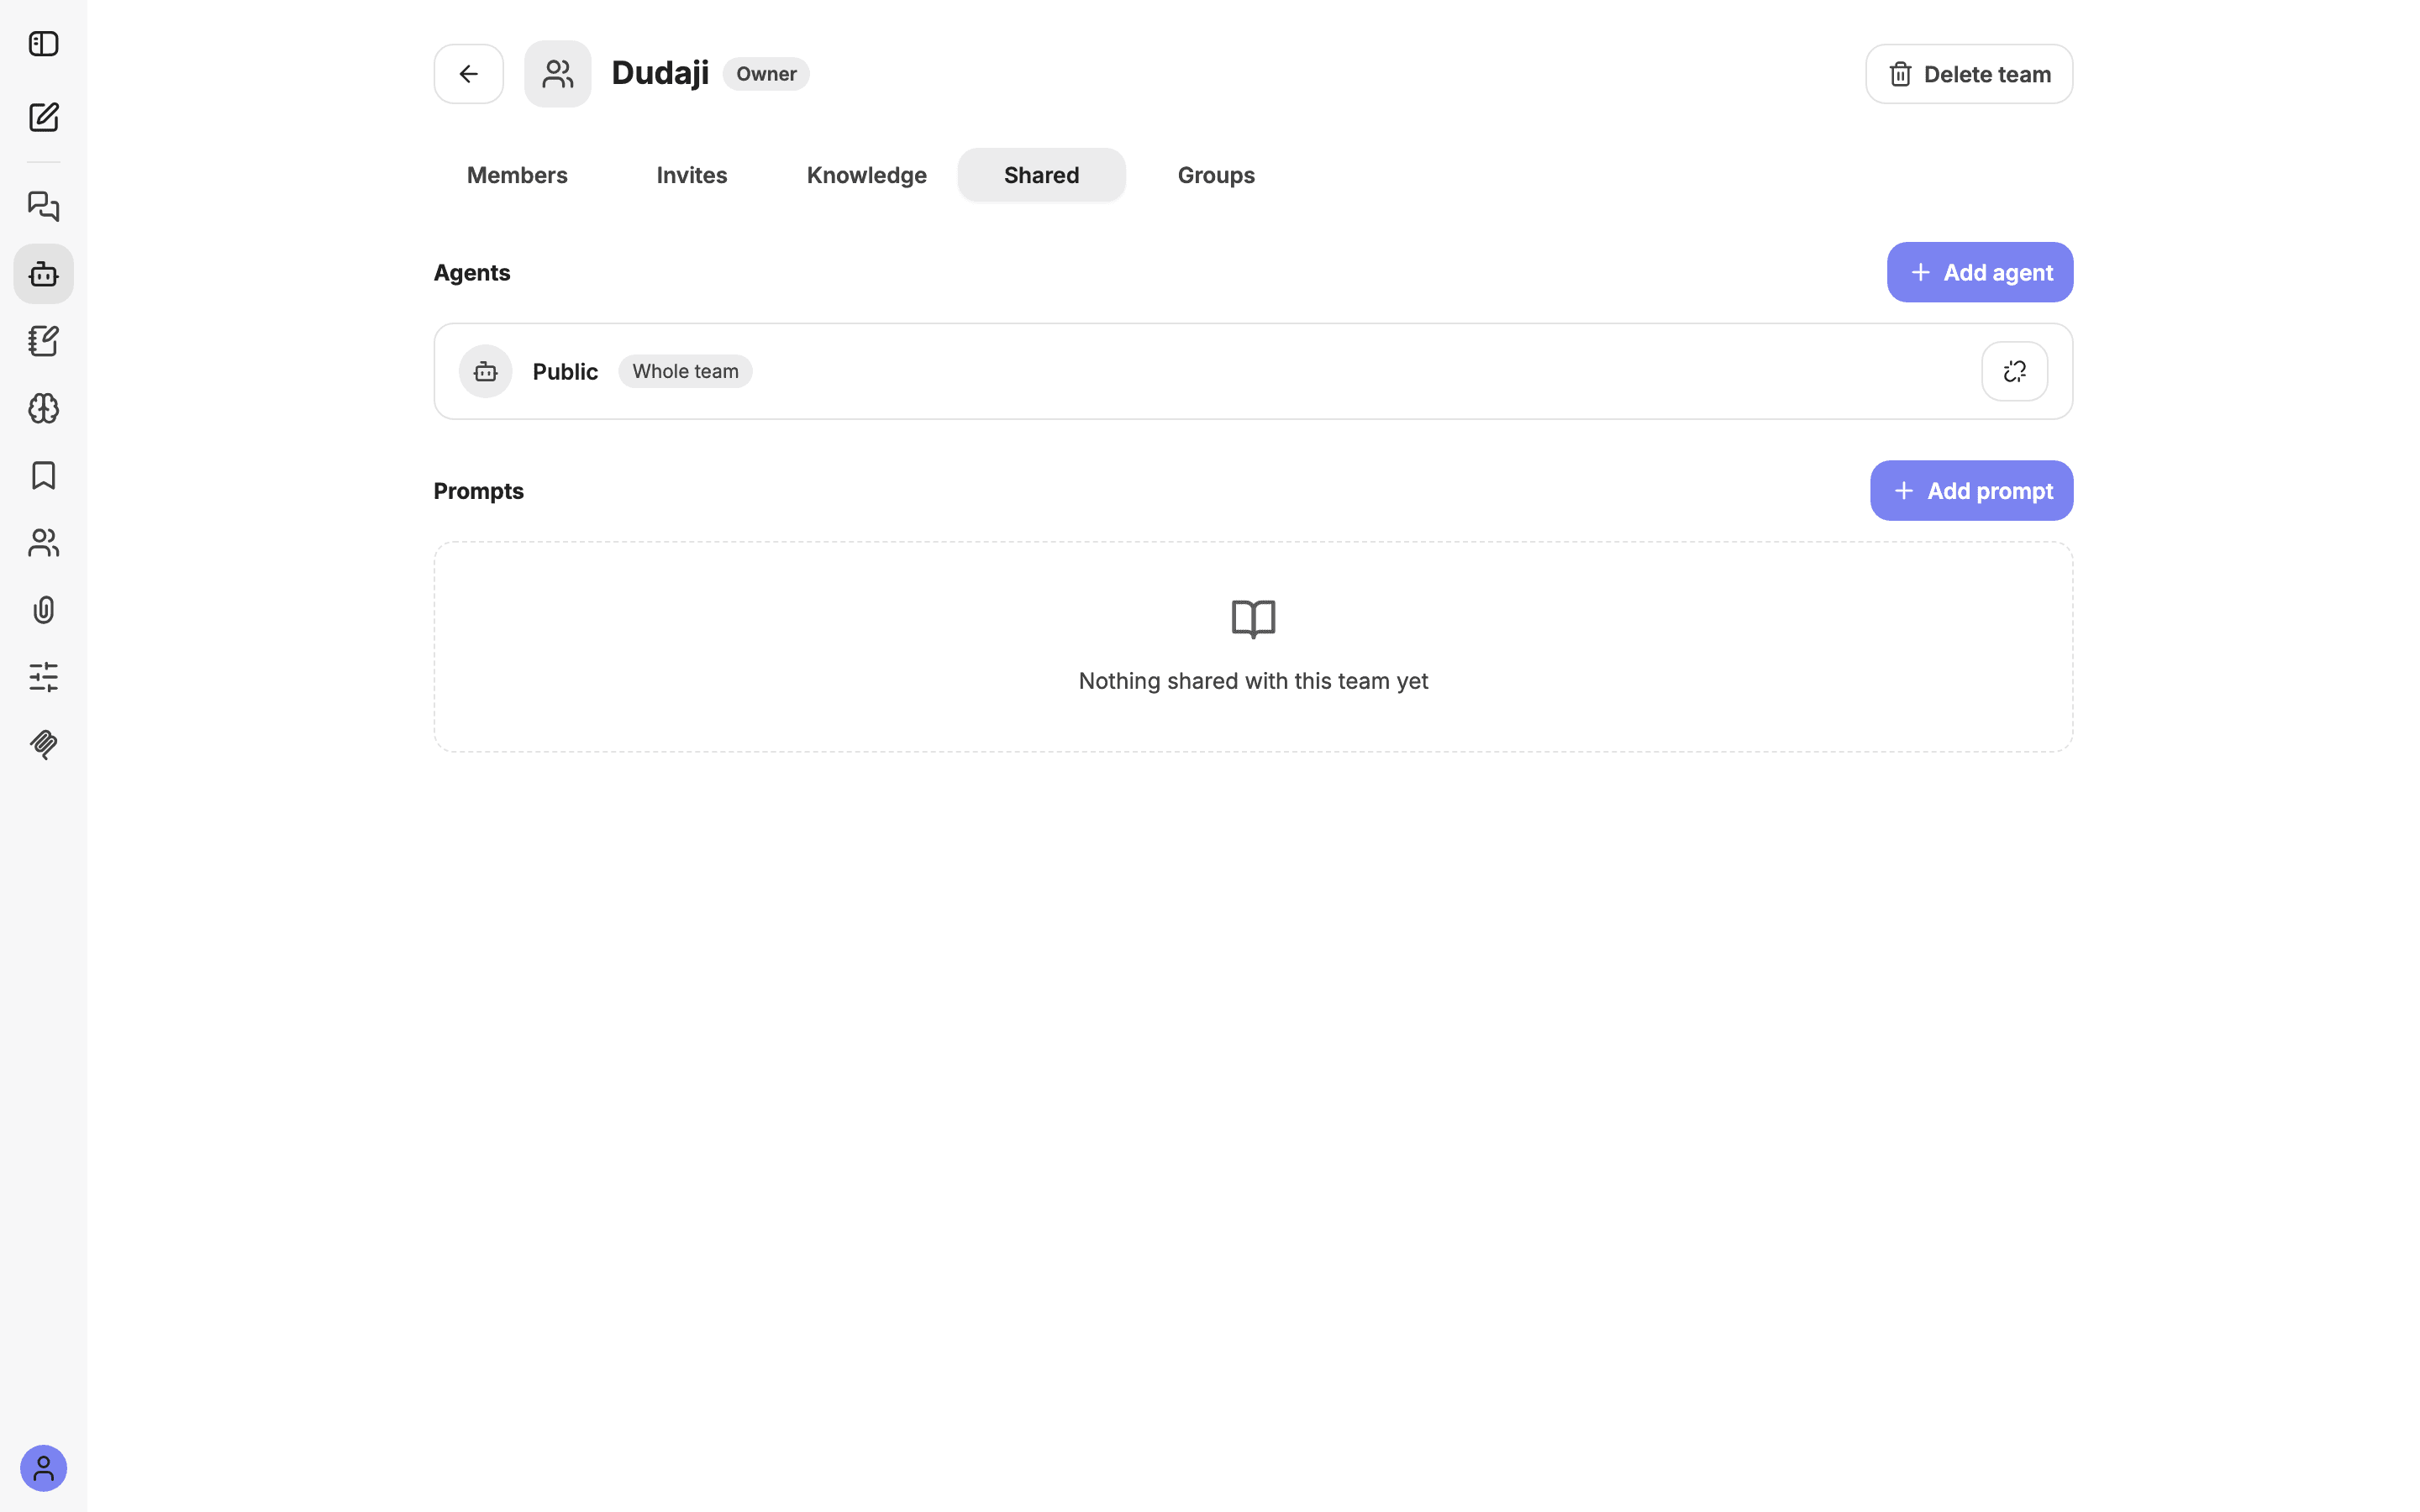
Share assistants and prompts from the Shared tab — an Add agent and an Add prompt button, each with its own audience.
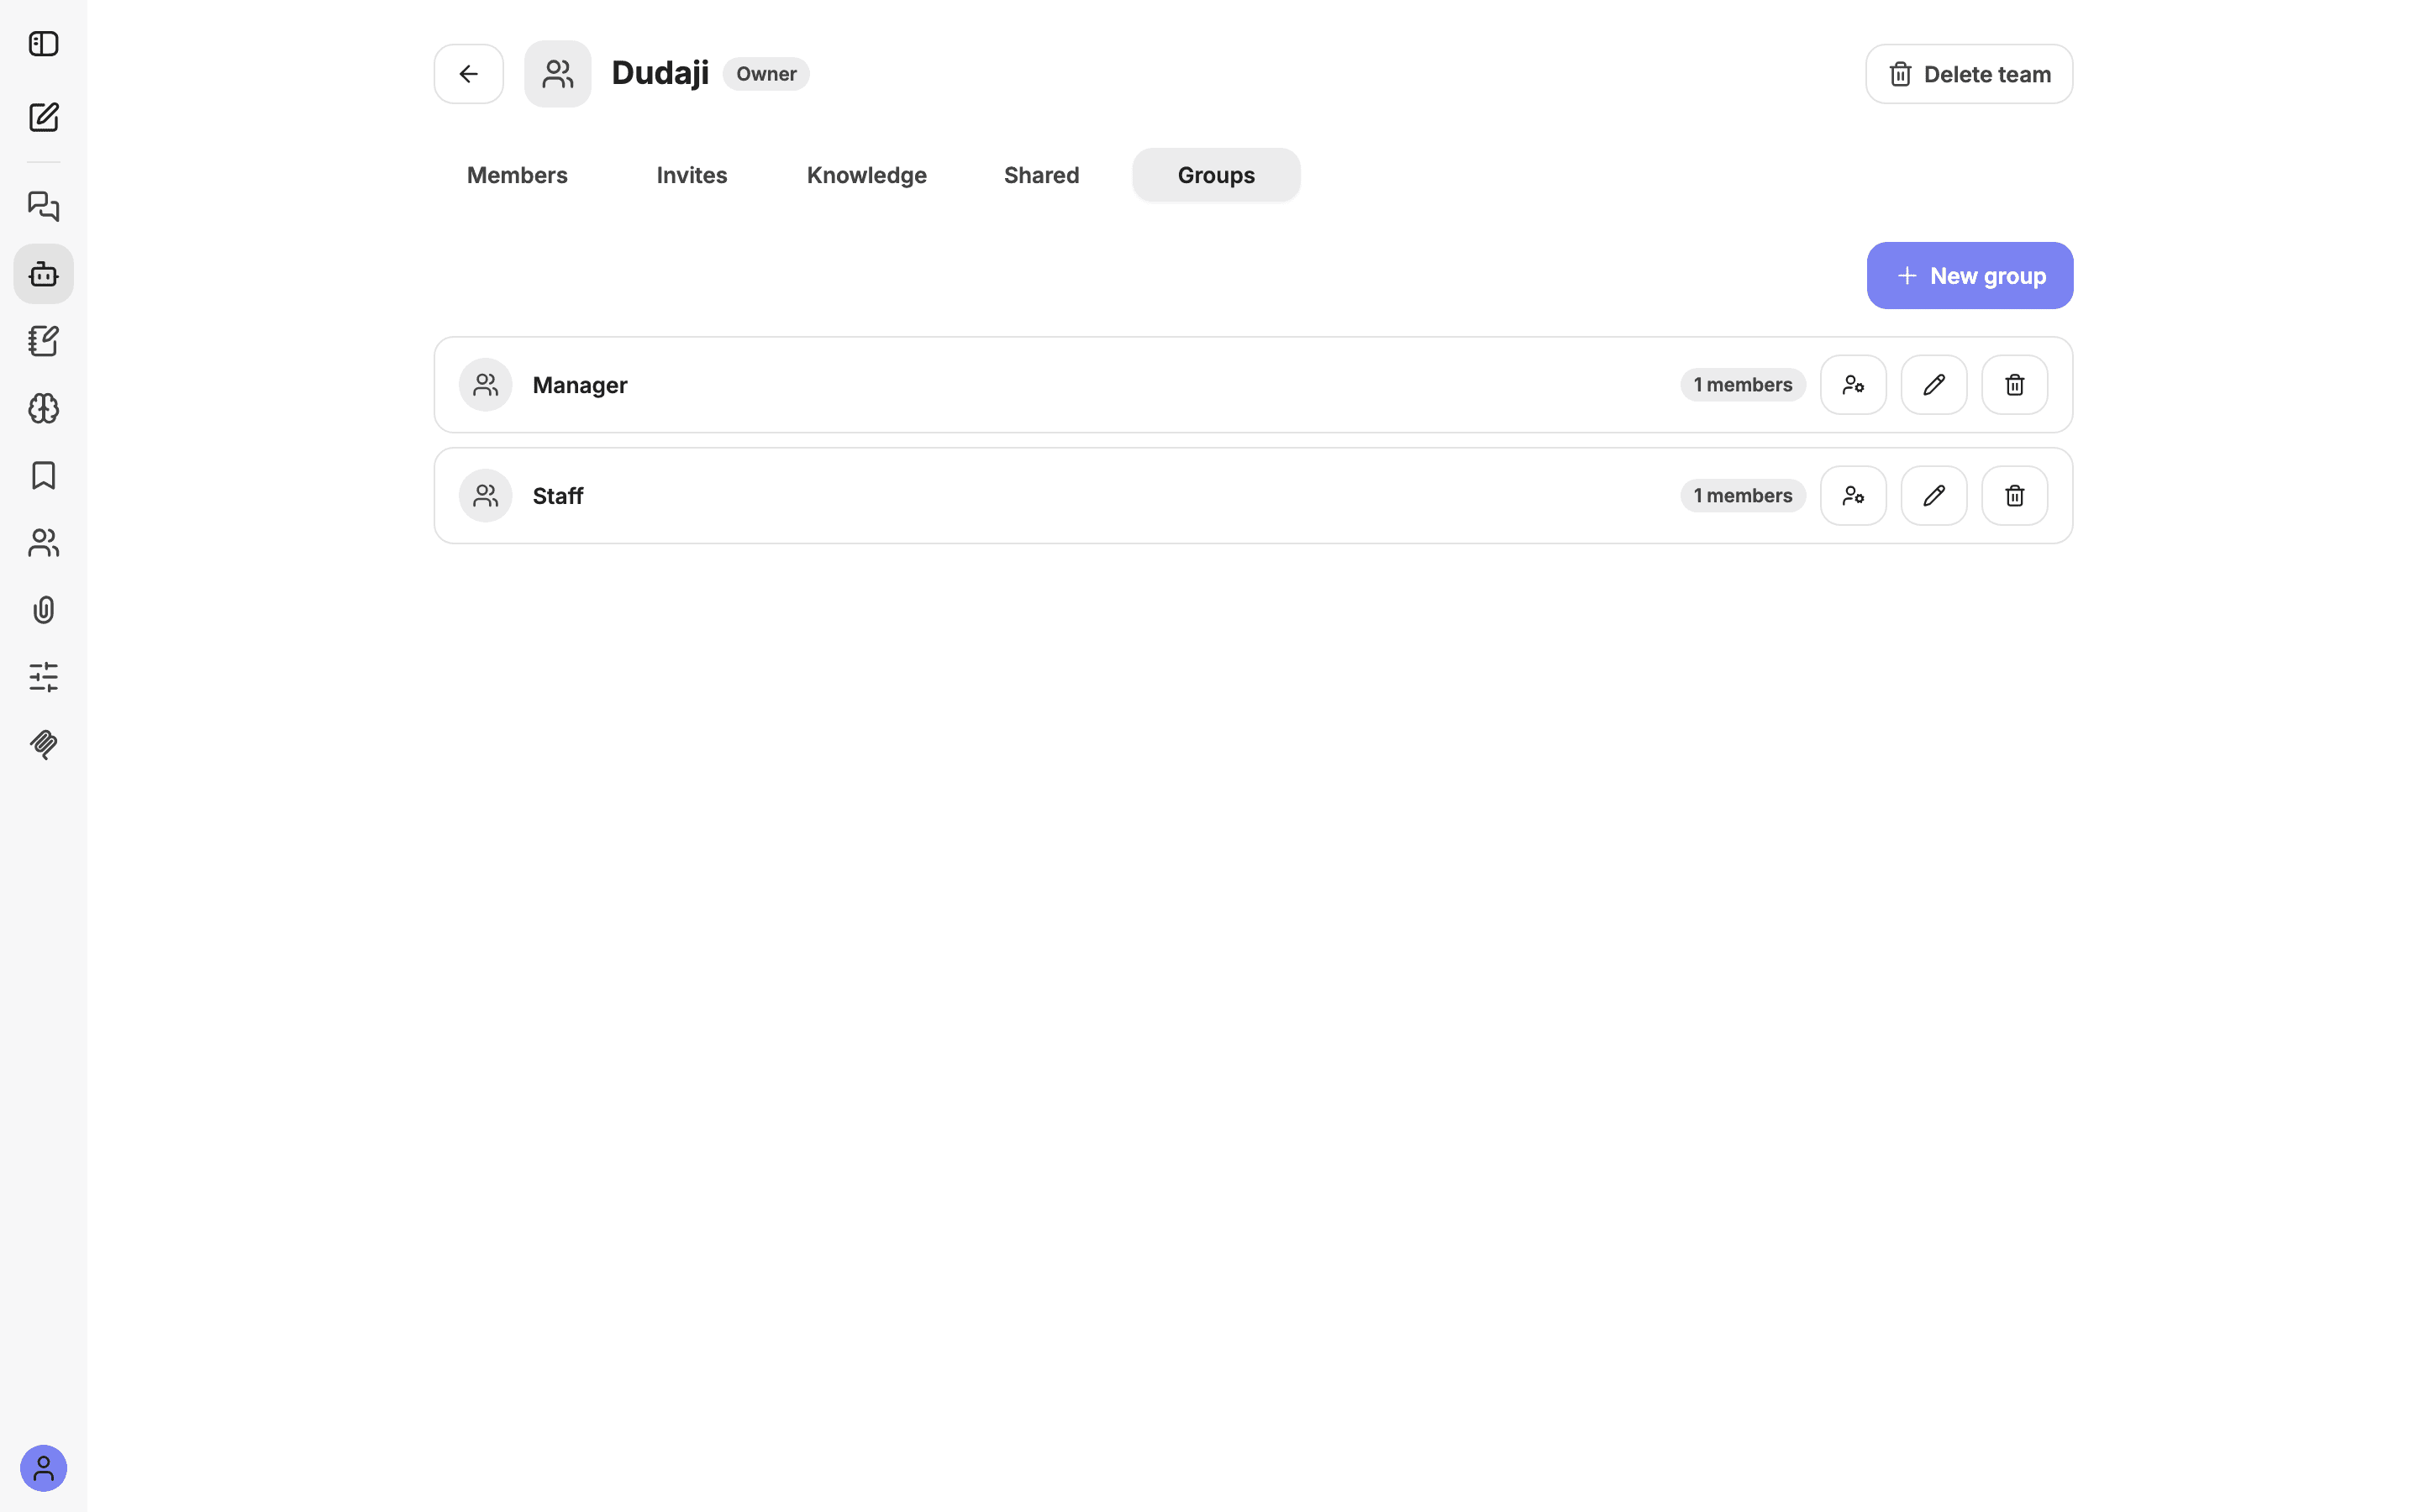
Need to share with only some of the team? Create a group on the Groups tab, add members, and target that group when you share.
What you get
A shared workspace where the whole team asks the same knowledge, uses the same assistants, and reuses the same prompts — no duplicated uploads, no drift.
Make it better
- Use groups for sensitive material (a
Manager-only policy) while a general handbook stays shared with everyone. - Least privilege — most people only need Member.
- Transfer ownership before you leave; only the Owner can delete the team.